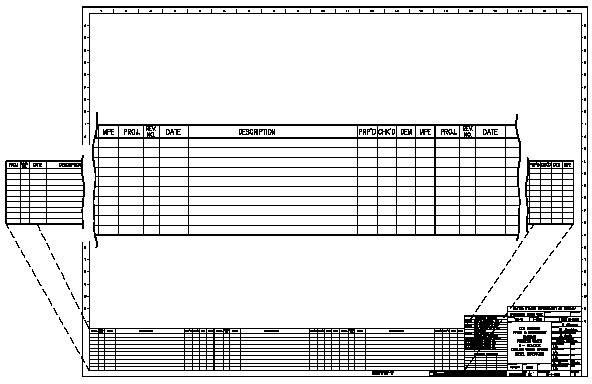
Engineering Drawing Revision Block
As changes to a component or system are made, the drawings depicting the component or system must be redrafted, updated and reissued. When a drawing is first issued, it is called revision zero or dash (-), and the revision block is empty. As each revision is made to the drawing, an entry is placed in the revision block. This entry will provide the revision number, a title or summary of the revision, and the date of the revision. The revision number may also appear at the end of the drawing number or in its own separate block, as shown in the illustration below. As the component or system is modified, and the drawing is updated to reflect the changes, the revision number is increased by one, and the revision number in the revision block is changed to indicate the new revision number. For example, if a Revision 2 drawing is modified, the new drawing showing the latest modifications will have the same drawing number, but its revision level will be increased to 3. The old Revision 2 drawing will be filed and maintained in the filing system for historical purposes. Organizations will also increment revisions alphabetically, with first revision being A, the second B and so forth.
